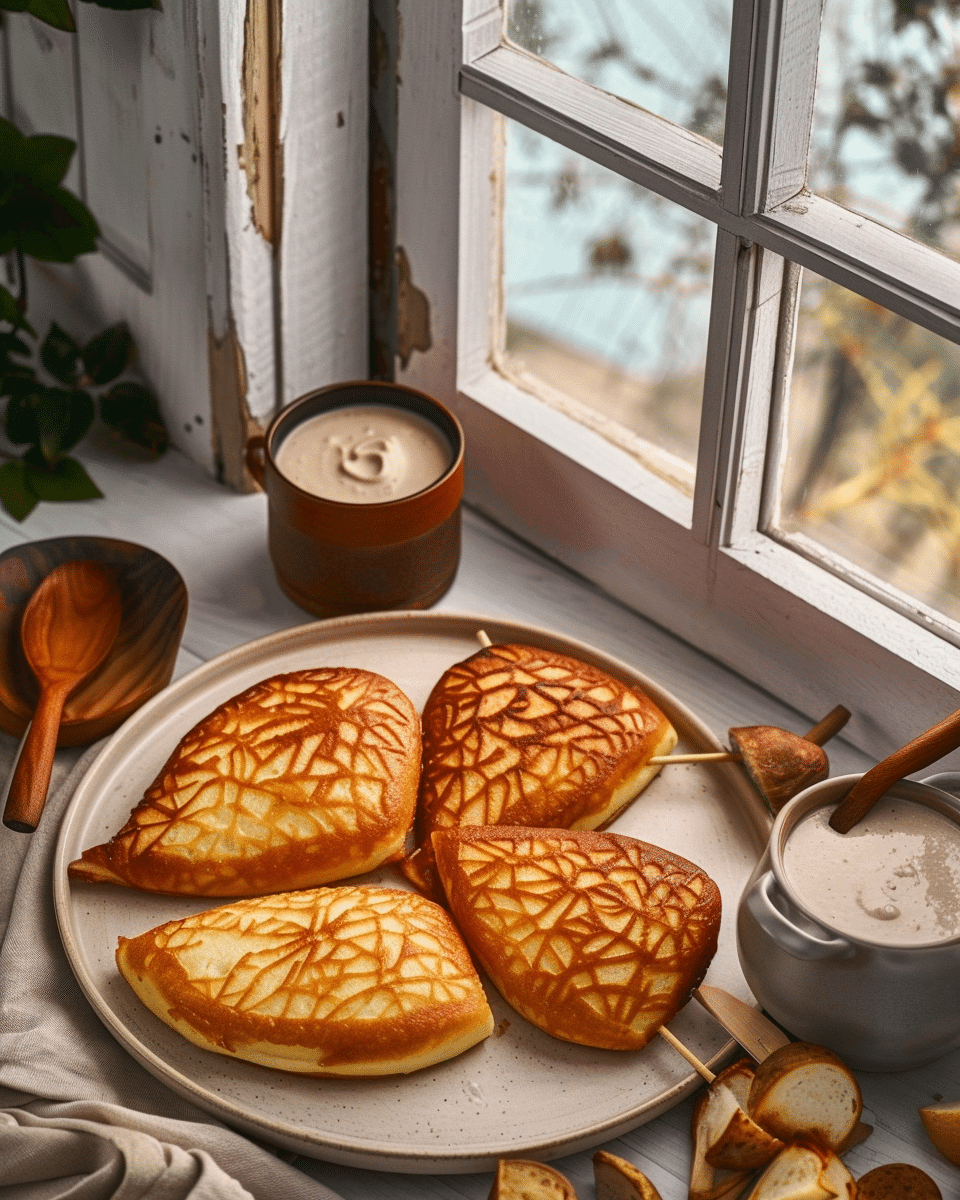
A beloved street food from Japan, Taiyaki is a fish-shaped cake that’s crispy on the outside, soft on the inside, and filled with sweet (or savory) goodness. I love how playful and nostalgic this dessert feels, and once I learned to make it at home, it quickly became a go-to whenever I craved something warm and delightful.
Why You’ll Love This Recipe
I can’t get enough of this recipe for a few key reasons:
Delicious and fun: The iconic fish shape combined with the crispy shell and gooey center makes it so enjoyable to eat and serve.
Simple ingredients: I only need a handful of pantry staples to whip up the batter.
Totally customizable: I’ve made Taiyaki with Nutella, custard, cheese, and even red bean paste—it’s such a fun way to experiment with fillings.
Ingredients
(Here’s a tip: Check out the full list of ingredients and measurements in the recipe card below.)
cake flour
granulated sugar
baking powder
baking soda
salt
egg
whole milk
vegetable oil
vanilla extract
filling of choice (like Nutella, custard, red bean paste, or cheese)
Directions
Make the batter I start by sifting cake flour, sugar, baking powder, baking soda, and salt into a large mixing bowl. In another bowl, I mix the egg, milk, vegetable oil, and vanilla extract. Then I combine both mixtures until just mixed (with some clumps remaining), and refrigerate the batter for at least one hour.
Prepare the mold I preheat my taiyaki pan over medium-low heat and lightly oil both sides, wiping away the excess with a paper towel.
Assemble the taiyaki Once the pan is ready, I pour in the batter until it fills about 60% of each mold—leaving the tail area empty. I then add about a tablespoon of filling in the center and cover it with more batter until full. After closing the mold, I flip it immediately to help the batter spread evenly.
Cook and cool I cook each side for 2–3 minutes until golden brown. Once done, I transfer the taiyaki to a wire rack to cool slightly before serving. I trim any extra edges with scissors to clean up the shape.
Servings and timing
This recipe makes 8 servings. Here’s the timing breakdown:
Prep time: 5 minutes
Cook time: 25 minutes
Rest time: 1 hour
Total time: 1 hour 30 minutes
Variations
I like getting creative with my taiyaki fillings and batter:
Fillings: Try matcha cream, ube halaya, chocolate ganache, sweet potato purée, or even mozzarella cheese for a savory version.
Batter twists: Swap vanilla extract for almond, pandan, or lemon for a flavor twist. You can also add a bit of matcha powder or cocoa to the batter for a colorful look.
Storage/Reheating
Taiyaki tastes best fresh and warm, but I’ve stored extras a few different ways:
Fridge: I keep leftovers in an airtight container in the fridge for up to 3 days.
Freezer: I wrap each one individually in plastic and freeze them for up to 3 months.
Reheating: I reheat taiyaki in the oven or toaster oven until warm and lightly crispy. For frozen ones, I let them thaw in the fridge overnight before reheating.
FAQs
What does taiyaki taste like?
It reminds me of a cross between a pancake and a waffle, with a slightly crispy shell and a soft, cake-like center. The filling adds a rich, flavorful surprise.
What is taiyaki batter made of?
I use cake flour, sugar, baking powder, baking soda, salt, an egg, milk, vegetable oil, and a splash of vanilla extract.
What are the most popular fillings for taiyaki?
Traditional fillings like sweet red bean paste and custard are popular, but I’ve also enjoyed it with Nutella, matcha, sweet potato, and even cheese.
How do I keep taiyaki crispy?
If I want to keep the exterior crisp, I reheat taiyaki in the oven or toaster oven just before serving. I also avoid storing them in sealed containers while they’re still warm, as the steam can soften them.
Is taiyaki better hot or cold?
I always serve it warm. That contrast between the crisp shell and melty center is what makes it so satisfying.
Conclusion
Making Taiyaki at home is easier than it looks—and it’s a dessert that never fails to impress. Whether I’m filling it with red bean paste for something traditional or going with Nutella for a modern twist, I always enjoy the fun of cooking (and eating) these charming fish-shaped treats. Once I got the hang of using the taiyaki pan, it became a staple in my dessert rotation.
Taiyaki is a charming Japanese fish‑shaped cake with a crisp, golden exterior and a soft, cakey interior, traditionally filled with sweet red bean paste (anko), but also wonderfully adaptable to fillings like Nutella, custard, chocolate, or cheese.
Filling of choice (e.g. sweet red bean paste, custard, chocolate spread, Nutella) :contentReference[oaicite:7]{index=7}
Oil for greasing the taiyaki mold
Instructions
Sift together the cake flour, baking powder, and baking soda (and optionally a pinch of salt) into a bowl. :contentReference[oaicite:8]{index=8}
In a separate bowl, whisk together the egg, milk, sugar, and neutral oil until smooth. :contentReference[oaicite:9]{index=9}
Gently combine the wet mixture into the dry ingredients, stirring just until no large lumps remain. Do not overmix. :contentReference[oaicite:10]{index=10}
Cover the batter and refrigerate (rest) for at least 1 hour (optional, but recommended) so the texture relaxes. :contentReference[oaicite:11]{index=11}
Preheat your taiyaki pan (mold) over low to medium‑low heat. Lightly brush both sides with oil. :contentReference[oaicite:12]{index=12}
Pour batter into each fish mold about 60% full. :contentReference[oaicite:13]{index=13}
Add a spoonful of your chosen filling in the center of each mold. :contentReference[oaicite:14]{index=14}
Cover the filling with a little more batter to “seal” it. :contentReference[oaicite:15]{index=15}
Close the mold and immediately flip it so the other side is over the heat (this helps the batter spread evenly). :contentReference[oaicite:16]{index=16}
Cook for about 2 to 2½ minutes on one side, then flip and cook another 2 to 2½ minutes, until both sides are golden brown and the interior is cooked through. :contentReference[oaicite:17]{index=17}
Carefully remove the taiyaki from the mold and let cool slightly on a wire rack. Trim any excess edges if desired. :contentReference[oaicite:18]{index=18}
Notes
If you don’t have cake flour, you can use all-purpose flour but replace a small portion (about 1–2 Tbsp) with cornstarch to lower the gluten. :contentReference[oaicite:19]{index=19}
Letting the batter rest helps reduce toughness and improves texture. :contentReference[oaicite:20]{index=20}
Avoid overfilling the molds so the batter doesn’t overflow too much. :contentReference[oaicite:21]{index=21}
The right heat control is crucial—too hot, and the exterior burns while the inside stays raw. :contentReference[oaicite:22]{index=22}
Serve taiyaki warm or reheat them in a toaster oven to regain crispness. :contentReference[oaicite:23]{index=23}


