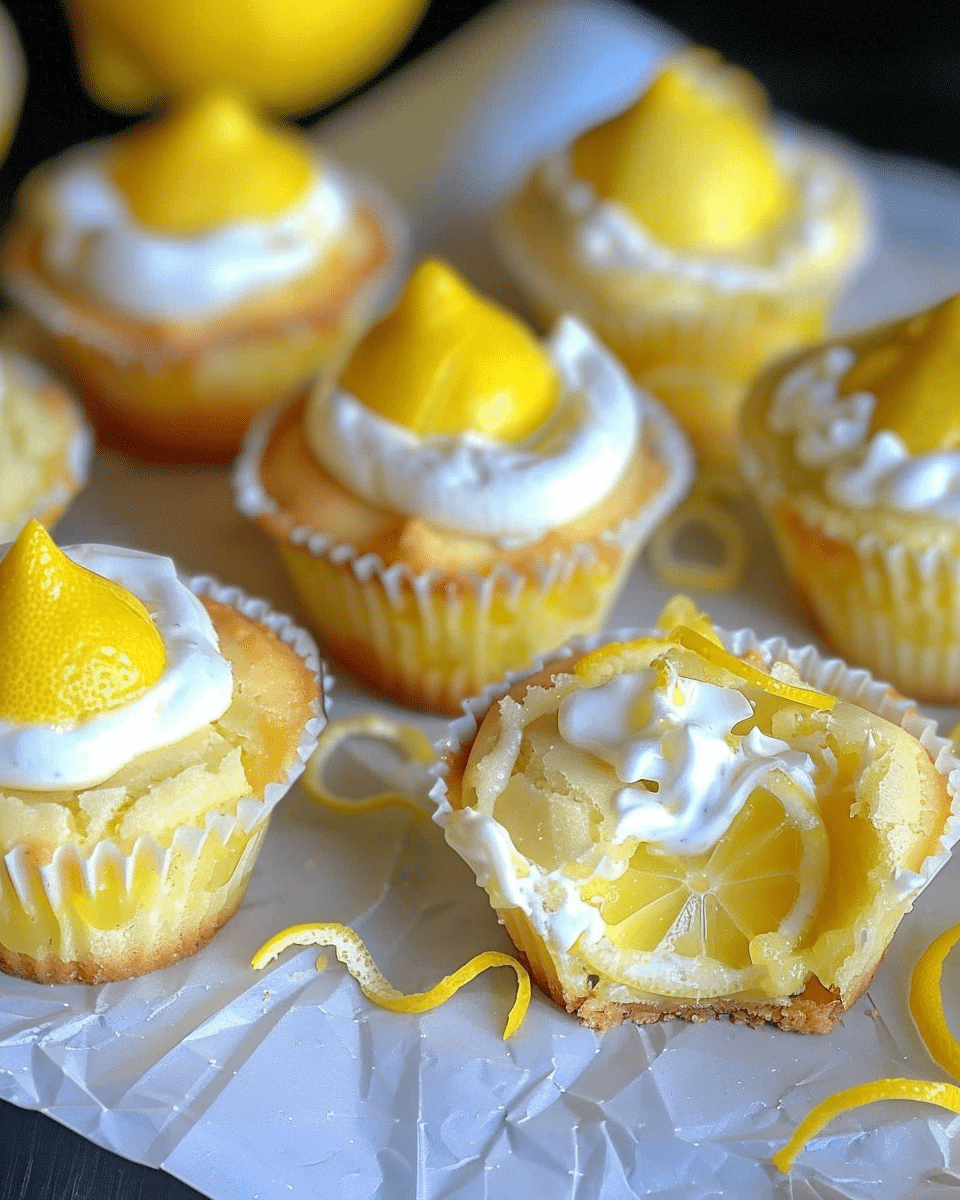
Soft sugar cookie cups filled with silky lemon curd and topped with powdered sugar — I love how these little treats deliver the perfect balance of buttery sweetness and bright citrus zing in every bite. They’re a fresh, fun twist on the classic lemon bar and come in a convenient, poppable cookie cup form.
Why You’ll Love This Recipe
I always find these Lemon Bar Cookie Cups to be a crowd-pleaser. They’re easy to make, look elegant on a dessert tray, and the flavor is a delightful contrast between rich cookie dough and tart lemon curd. I can make them ahead, chill them, and they hold up beautifully — perfect for parties, brunches, or just an afternoon treat.
Ingredients
(Here’s a tip: Check out the full list of ingredients and measurements in the recipe card below.)
For the cookie cups:
1 ½ cups all-purpose flour
½ tsp baking powder
¼ tsp salt
½ cup (1 stick) unsalted butter, softened
¾ cup granulated sugar
1 large egg
1 tsp vanilla extract
For the lemon filling:
½ cup fresh lemon juice (about 2–3 lemons)
Zest of 1 lemon
½ cup granulated sugar
2 large eggs
2 tbsp butter
Powdered sugar, for topping
Directions
1. Preheat oven: I start by preheating the oven to 350°F (175°C) and greasing a mini muffin pan to prevent sticking.
2. Make the cookie dough: In a mixing bowl, I cream together the butter and sugar until light and fluffy. Then I beat in the egg and vanilla. After that, I add the flour, baking powder, and salt, mixing just until the dough comes together.
3. Shape and bake: I roll the dough into 1-inch balls and place them in the mini muffin cups. Using my thumb or the back of a spoon, I press a small well into the center of each ball. These bake for 10–12 minutes, just until the edges start to turn golden. Once out of the oven, I gently press the centers down again to make room for the filling, and let them cool completely in the pan.
4. Make the lemon curd: In a saucepan over medium-low heat, I whisk the lemon juice, zest, sugar, and eggs. I keep stirring constantly until the mixture thickens (usually about 5–7 minutes). Then I remove it from the heat and stir in the butter until smooth. I let it cool before assembling.
5. Assemble and chill: Once the cups and curd are cool, I spoon the lemon curd into each cookie cup. I like to chill them for at least 30 minutes to let the filling set nicely.
6. Serve: Right before serving, I dust them with powdered sugar for that perfect finishing touch.
Servings and timing
This recipe makes about 24 mini cookie cups. Prep time: 20 minutes Cook time: 10–12 minutes Chill time: 30 minutes Total time: Around 1 hour
Variations
Berry twist: I sometimes add a tiny raspberry or blueberry on top of each cup before chilling for a fruity surprise.
Lime version: Swapping lemon juice and zest with lime gives a tropical flavor twist.
Crust alternative: I’ve tried graham cracker crusts pressed into mini pans for a no-dough option.
Storage/Reheating
I store these in an airtight container in the refrigerator for up to 5 days. For best texture, I don’t recommend reheating, but if needed, a very light warm-up (5–10 seconds in the microwave) works. They’re best served chilled or at room temperature.
FAQs
How do I keep the cookie cups from sticking to the pan?
I always make sure to grease the mini muffin tin well, or I use a nonstick spray. Letting them cool fully in the pan helps them firm up and release easily.
Can I make these ahead of time?
Yes, I often make them a day or two in advance and store them in the fridge. Just add the powdered sugar right before serving.
Can I freeze Lemon Bar Cookie Cups?
I freeze the cookie cups (without the lemon curd) and thaw them before filling. I don’t recommend freezing the curd-filled cups, as the texture may change.
What’s the best way to zest a lemon?
I use a fine microplane grater, zesting only the yellow part. Avoid the white pith underneath — it’s bitter.
Can I use bottled lemon juice?
Fresh lemon juice gives the best flavor, but if I’m short on time, I sometimes use bottled — though I always prefer fresh when possible.
Conclusion
Lemon Bar Cookie Cups are one of my go-to desserts when I want something easy, elegant, and packed with flavor. I love the buttery cookie base combined with the bright lemon curd, and they always disappear quickly at gatherings. Whether for a spring brunch or a holiday tray, these little gems bring a lot of joy in a small bite.
Soft sugar cookie cups filled with silky lemon curd and dusted with powdered sugar—these Lemon Bar Cookie Cups combine buttery sweetness and bright citrus zing in a fun, bite‑sized format.
Ingredients
For the cookie cups:
1 ½ cups all‑purpose flour
½ tsp baking powder
¼ tsp salt
½ cup (1 stick) unsalted butter, softened
¾ cup granulated sugar
1 large egg
1 tsp vanilla extract
For the lemon curd filling:
½ cup fresh lemon juice (≈ 2–3 lemons)
Zest of 1 lemon
½ cup granulated sugar
2 large eggs
2 tbsp unsalted butter, cut into pieces
Powdered sugar, for dusting
Instructions
Preheat the oven to 350 °F (175 °C). Grease a mini muffin pan (or line with mini liners).
In a bowl, whisk together the flour, baking powder, and salt.
In another bowl, cream the softened butter with granulated sugar until light and fluffy. Mix in the egg and vanilla.
Gradually add the dry flour mixture into the butter mixture, mixing until just combined into a soft dough.
Roll the dough into ~1‑inch balls and place one ball into each mini muffin cup. Gently press down to flatten slightly.
Bake for 10–12 minutes, just until the edges begin to turn golden. Remove from oven.
While warm, use the back of a spoon (or your thumb) to press the center of each cookie to form a small well (indentation) for filling.
Allow cookie cups to cool completely in the pan.
Prepare the lemon curd: In a saucepan over medium‑low heat, whisk together lemon juice, lemon zest, sugar, and eggs. Stir constantly until the mixture thickens (5–7 minutes). Remove from heat and stir in the butter until smooth.
Let the curd cool to room temperature.
Spoon about 1 teaspoon (or as much as will fit) of lemon curd into each cookie cup, filling close to the top.
Chill in the refrigerator for at least 30 minutes to allow the curd to set.
Just before serving, dust with powdered sugar.
Notes
If you prefer, you can use a quick, no‑cook lemon filling for convenience, but the cooked curd gives a richer texture. (Some recipes use this approach.) :contentReference[oaicite:1]{index=1}
Run a thin knife or offset spatula around the edges of each cookie cup immediately after baking to help release them from the pan. :contentReference[oaicite:2]{index=2}
The powdered sugar melts into the curd if added too early, so dust right before serving for best presentation. :contentReference[oaicite:3]{index=3}
These keep best refrigerated in an airtight container for up to 4–5 days. :contentReference[oaicite:4]{index=4}
You can freeze the baked cookie cups (without the curd) and fill them after thawing. :contentReference[oaicite:5]{index=5}
Prep Time:20 minutes
Cook Time:10–12 minutes + curd cooking time (≈ 7 minutes)


