Cake pops are one of those delightful treats that combine the joy of cake with the convenience of a lollipop. I love making these for parties, holidays, or even just to satisfy a sweet tooth. The best part? They’re completely customizable and surprisingly easy to make once I got the hang of it. Whether I’m using homemade sponge cake or a quick boxed mix, these cake pops always come out impressive and delicious.
Why You’ll Love This Recipe
I find this cake pop recipe incredibly beginner-friendly and fun to personalize. With just a few ingredients and some simple techniques, I can create professional-looking pops that are perfect for gifting or serving. The texture is moist but not mushy, and the coating gives that satisfying snap. I also love that this recipe uses whipped cream instead of frosting, making the flavor lighter and not overly sweet.
Ingredients
(Here’s a tip: Check out the full list of ingredients and measurements in the recipe card below.)
1 sponge cake (chocolate or plain – homemade or boxed mix)
1 cup heavy whipping cream (extra cold)
1/2 cup sugar
24 oz chocolate candy melts (any color)
Directions
I start by crumbling the sponge cake into a large bowl until it’s in fine pieces.
Using a mixer, I whip the cold heavy whipping cream with sugar until stiff peaks form.
I combine the whipped cream with the cake crumbs, mixing until the dough is smooth and holds together well.
Using a cookie scoop, I portion the dough and roll each portion into a ball. I place them on a parchment-lined baking sheet.
I melt a small amount of chocolate melts, dip the end of each cake pop stick in the chocolate, and insert it into the center of each cake ball.
I refrigerate the cake pops (uncovered) for about 10 minutes to help them firm up.
Once the pops are chilled, I melt the remaining chocolate and dip each cake pop fully, using a circular motion for an even coating.
I place them upright on a stand to dry, then refrigerate until ready to serve.
Servings and Timing
This recipe makes about 50 cake pops. It takes around 45 minutes of prep time, 30 minutes for baking the sponge cake (if made from scratch), and 10 additional minutes for chilling, totaling approximately 1 hour and 15 minutes.
Variations
Flavor Swaps: I sometimes use different flavored sponge cakes like red velvet or lemon.
Frosting Substitute: If I want a richer texture, I use cream cheese frosting instead of whipped cream.
Coating Options: White chocolate, colorful candy melts, or even dark chocolate work wonderfully for the outer shell.
Add-ins: I like adding sprinkles, crushed cookies, or mini chocolate chips to the dough for extra texture.
Decorations: I’ve used edible glitter, sugar pearls, or themed sprinkles to match holiday or party vibes.
Storage/Reheating
Refrigerator: I keep cake pops in an airtight container or tightly wrapped in plastic wrap for up to 10 days. This helps prevent them from absorbing fridge odors.
Freezer: I freeze fully set cake pops on their stand for a couple of hours, then transfer them to a freezer-safe bag. They keep well for up to 3 months. When I want to enjoy them, I just thaw them overnight in the fridge.
FAQs
How do I get cake pops to stick together?
I make sure the whipped cream and cake crumbs are mixed well until the dough is cohesive. If it feels too crumbly, I add a little more whipped cream. Chilling them also helps the shape hold.
How many bags of candy melts do I need?
For a batch of about 50 cake pops, I usually need 24 ounces of candy melts, which is typically around 2 standard-sized bags.
How do I make cake pops smooth?
The key is dipping each pop in one motion and rotating it gently in a circular pattern. I make sure the melted chocolate is warm, not too thick, and I let the excess drip off before drying.
What’s the best way to melt candy melts?
I prefer using a microwave in 30-second increments, stirring between each, until the chocolate is fully smooth. A double boiler works too if I want more control.
How do I make cake pops firmer?
Chilling them after inserting the sticks and again after dipping helps a lot. I also make sure not to use too much whipped cream, which can make them soft and unstable.
Conclusion
Making cake pops might look fancy, but with the right technique and a bit of patience, I’ve found it to be one of the most rewarding desserts to create. They’re fun, versatile, and always a crowd-pleaser. Whether I’m making them for a holiday, a birthday, or just because I feel like treating myself, they never disappoint.
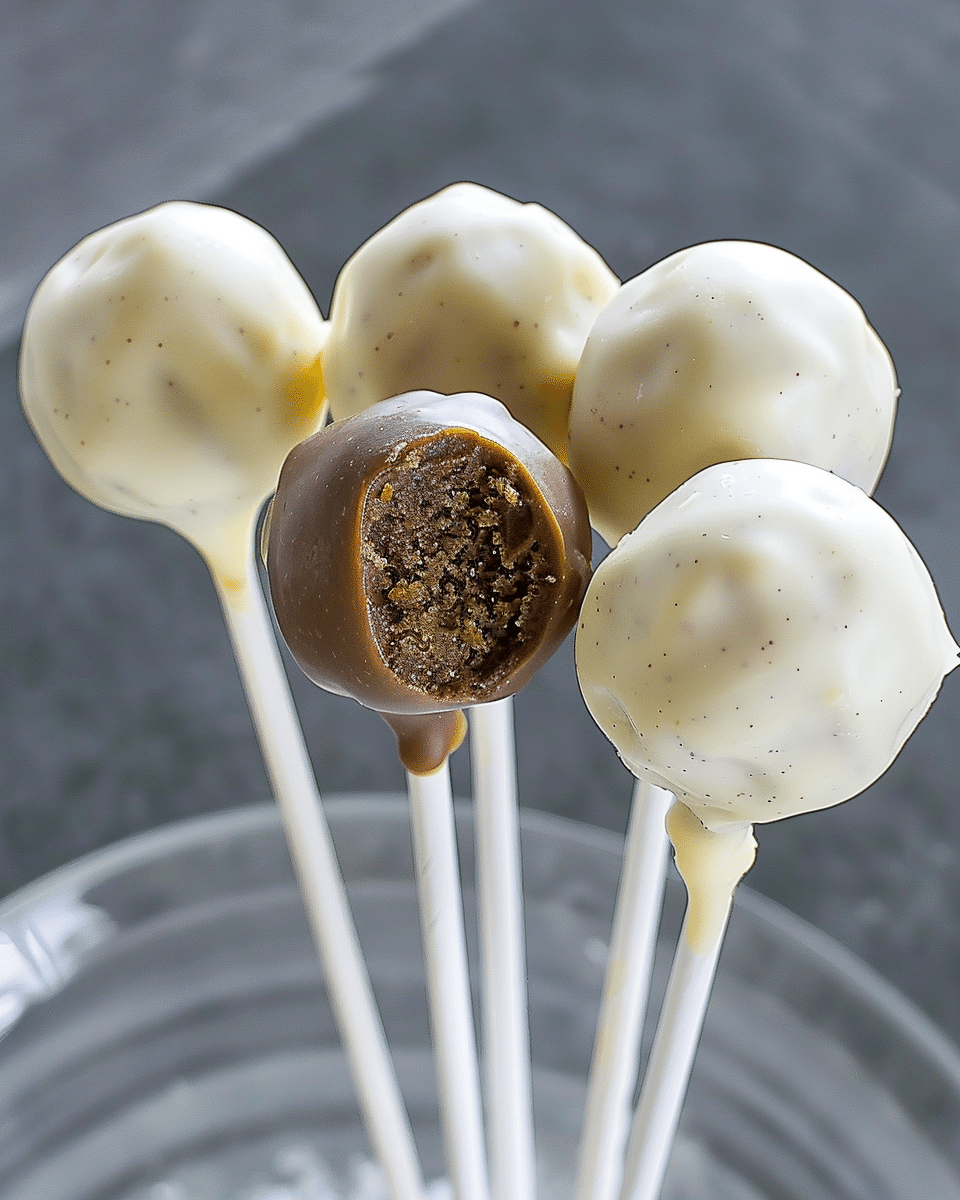
These Cake Pops are easy to make yet look impressive—crumble sponge cake, mix with whipped cream, form into balls, dip in candy melts, and decorate. Perfect for parties, gifts or fun snacks.
Ingredients
1 sponge cake (chocolate or plain – homemade or boxed mix)
1 cup heavy whipping cream (extra cold)
½ cup sugar
24 oz chocolate candy melts (any color)
Instructions
Crumble the sponge cake into a large bowl until fine pieces.
In a mixer, whip the cold heavy whipping cream with sugar until stiff peaks form.
Mix the whipped cream with the cake crumbs until a smooth dough forms that holds together.
Using a cookie scoop, portion the dough and roll into balls. Place on parchment‑lined baking sheet.
Melt a small amount of the candy melts. Dip the end of each cake‑pop stick in the melted chocolate, then insert into the center of each cake ball.
Refrigerate the cake pops for about 10 minutes to chill and firm up.
Melt the remaining candy melts. Dip each cake pop fully by rotating in the melted chocolate to cover evenly. Let excess drip off.
Place the pops upright on a stand to dry and then refrigerate until ready to serve.
Notes
If the dough feels too crumbly, add a bit more whipped cream to help bind it.
Store the dipped cake pops upright in a container to preserve their shape and coating.
You can melt candy melts in a microwave using 30‑second intervals, stirring between each until smooth.


