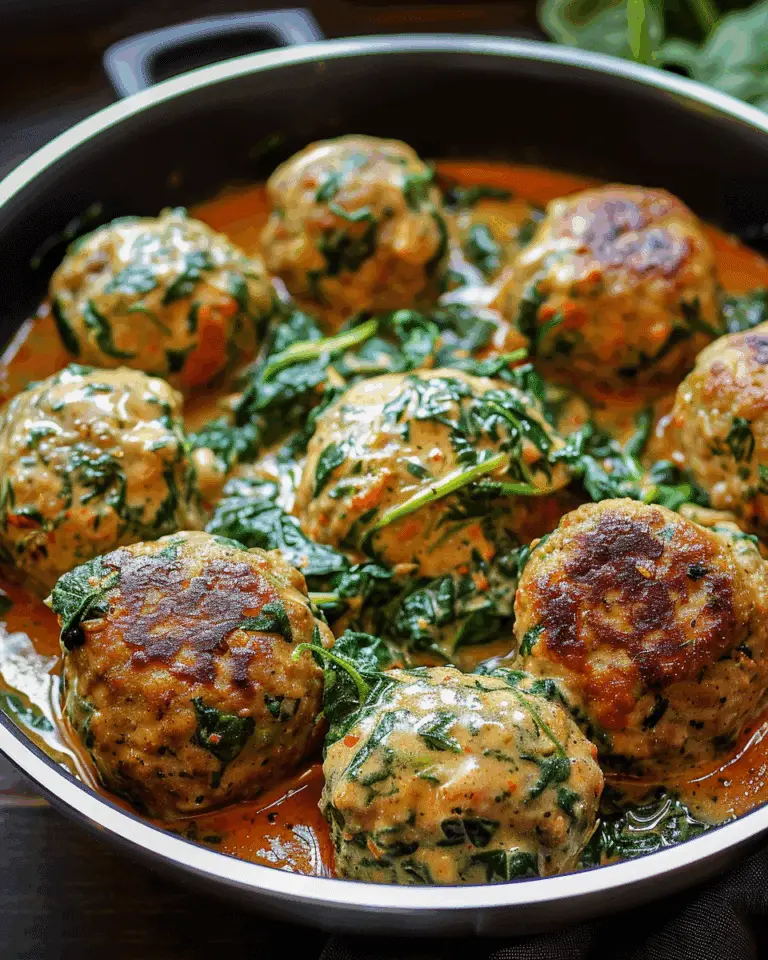
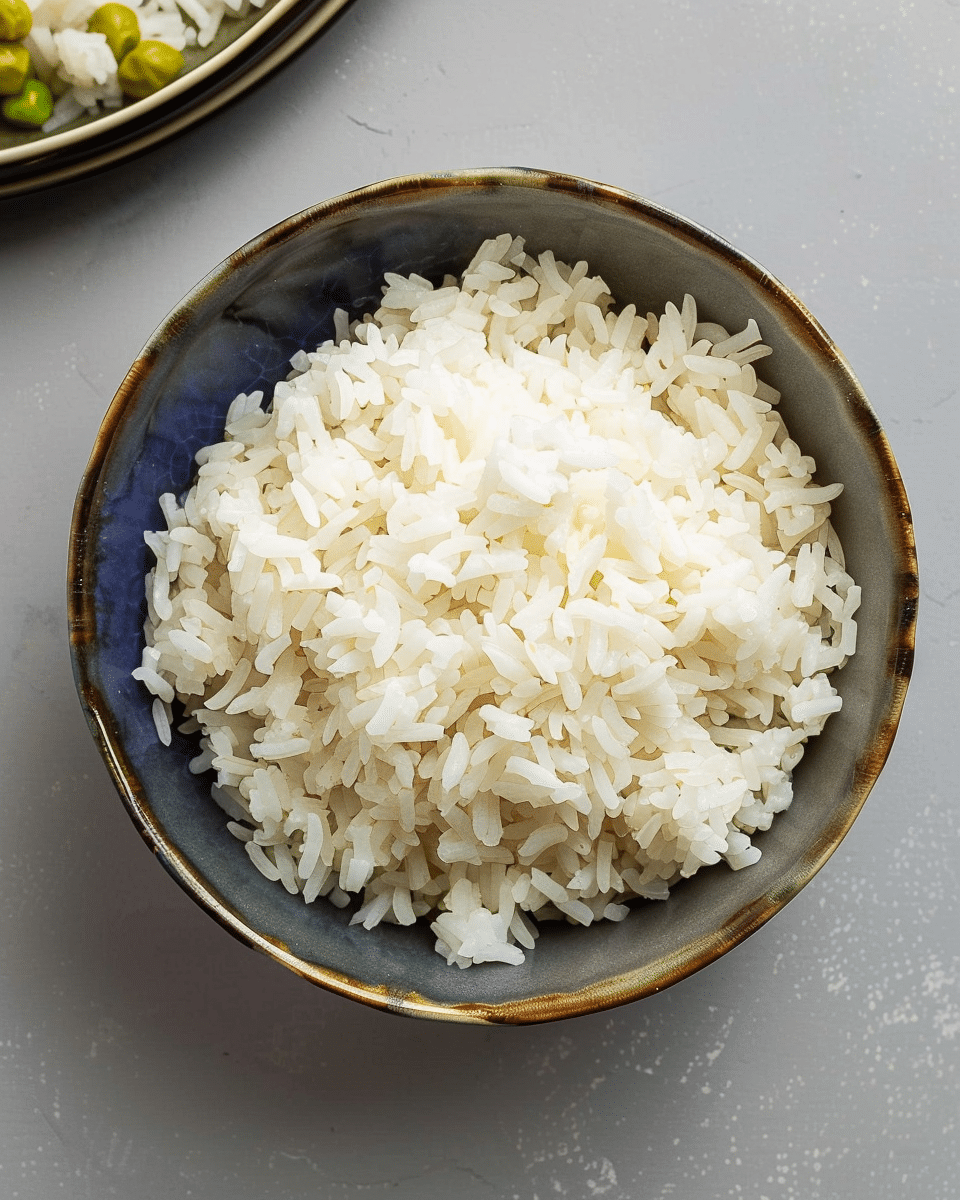
This method for cooking basic white rice comes from Sonoko Sakai’s book Wafu Cooking and is adapted by Eric Kim. It involves soaking the rice for an extended time, a brief but controlled cooking period, and two resting phases that produce perfectly tender, shiny, and fluffy grains. Most of the time is inactive, but the results are worth it. This is my go-to recipe when I want a reliable, restaurant-quality pot of white rice.
Why You’ll Love This Recipe
I love this rice recipe because it brings out the best texture and flavor of medium- or short-grain white rice without a rice cooker. The soaking hydrates the grains evenly, the controlled cooking locks in moisture, and the two resting steps ensure the rice fluffs up beautifully without being mushy or sticky. It’s simple but elevates everyday rice to something special every time.
Ingredients
-
1½ cups (300 grams) medium- or short-grain white rice
-
1¾ cups (400 milliliters) water
(Here’s a tip: Check out the full list of ingredients and measurements in the recipe card below.)
Directions
-
Rinse the rice in a fine-mesh strainer under cold running water for about 30 seconds until the water runs clear. Drain thoroughly.
-
Place the rinsed rice and water in a heavy-bottomed small saucepan (about 2 quarts) with a tight-fitting lid. Let it soak at cool room temperature for at least 30 minutes, or up to 8 hours.
-
Set the pot uncovered over medium heat. Heat until the water bubbles vigorously around the edges.
-
Cover the pot, reduce the heat to the lowest possible setting, and cook without lifting the lid for 15 minutes.
-
Remove the pot from heat and keep it covered. Let the rice rest for 15 minutes.
-
Uncover and gently fluff the rice with a wooden spoon or paddle, turning the bottom rice to the top to release excess steam. Cover again and let the rice rest for a final 5 minutes before serving.
Servings and timing
This recipe yields about 5 cups of cooked rice, enough for 4 to 5 servings. Total active prep and cook time is about 30 minutes, but including soaking and resting, the whole process takes about 1 hour and 20 minutes.
Variations
-
I sometimes use sushi rice or Calrose rice for slightly different textures but stick to medium or short grains for best results.
-
For a subtle flavor twist, I add a pinch of salt or a few drops of toasted sesame oil after cooking.
-
If I’m in a hurry, I shorten the soaking time to 30 minutes, but I prefer the longer soak when I have time.
-
Baking the rice in the oven at 250°F after boiling, as some cooks suggest, can also produce perfect rice if stovetop heat is hard to control.
Storage/Reheating
I store leftover rice in an airtight container in the refrigerator for up to 3 days. To reheat, I sprinkle a little water over the rice and warm it gently in a covered pan or microwave to bring back moisture and fluffiness. Avoid overheating or the rice can dry out.
FAQs
How important is the soaking step?
I find soaking crucial because it hydrates the grains evenly, so the rice cooks uniformly and becomes tender without being mushy. Skipping this step risks uneven texture.
Can I use long-grain rice with this method?
This method is best for medium- or short-grain rice. Long-grain rice varieties like basmati or jasmine usually require different water ratios and cooking times for best results.
What if I don’t have a heavy-bottomed pot?
A heavy-bottomed pot helps distribute heat evenly and prevents scorching. If I don’t have one, I cook on low heat and watch carefully to avoid burning.
Can I add seasoning while cooking?
I prefer to keep the rice plain to showcase its natural flavor, but you can add a pinch of salt to the water before cooking if desired.
How do I prevent the rice from sticking to the pot?
Using a heavy-bottomed pot and controlling the heat carefully helps prevent sticking. Also, avoid lifting the lid during cooking to maintain even steam.
Conclusion
I rely on this method when I want perfect, fluffy white rice without fancy equipment. The longer soak and precise resting steps make all the difference, and the results are consistently excellent—tender grains that shine and separate beautifully. Once I started using this recipe, it quickly became my standard for everyday cooking and special meals alike.
Print
Basic White Rice
- Total Time: 1 hour 20 minutes
- Yield: About 5 cups cooked rice (4-5 servings)
- Diet: Halal
Description
A reliable method for perfectly tender, fluffy medium- or short-grain white rice using soaking, controlled cooking, and resting phases for restaurant-quality results without a rice cooker.
Ingredients
1½ cups (300 grams) medium- or short-grain white rice
1¾ cups (400 milliliters) water
Instructions
- Rinse rice in a fine-mesh strainer under cold running water for about 30 seconds until water runs clear. Drain thoroughly.
- Place rinsed rice and water in a heavy-bottomed small saucepan with a tight-fitting lid. Let soak at cool room temperature for at least 30 minutes, up to 8 hours.
- Set pot uncovered over medium heat; heat until water bubbles vigorously around edges.
- Cover pot, reduce heat to lowest setting, and cook without lifting lid for 15 minutes.
- Remove pot from heat, keep covered, and let rice rest for 15 minutes.
- Uncover and gently fluff rice with a wooden spoon or paddle, turning bottom grains to top to release steam. Cover again and let rest for 5 minutes before serving.
Notes
- Sushi or Calrose rice can be used for texture variation; stick to medium or short grains for best results.
- Add a pinch of salt or a few drops of toasted sesame oil after cooking for subtle flavor.
- Shorten soaking to 30 minutes if pressed for time, though longer soak improves texture.
- Baking rice in a 250°F oven after boiling is an alternative method if stovetop heat control is difficult.
- Prep Time: 10 minutes
- Cook Time: 20 minutes
- Category: Side Dish
- Method: Stovetop
- Cuisine: Japanese-inspired
Nutrition
- Serving Size: 1/5 of recipe
- Calories: 205
- Sugar: 0g
- Sodium: 0mg
- Fat: 0.4g
- Saturated Fat: 0g
- Unsaturated Fat: 0.2g
- Trans Fat: 0g
- Carbohydrates: 45g
- Fiber: 1g
- Protein: 4g
- Cholesterol: 0mg

