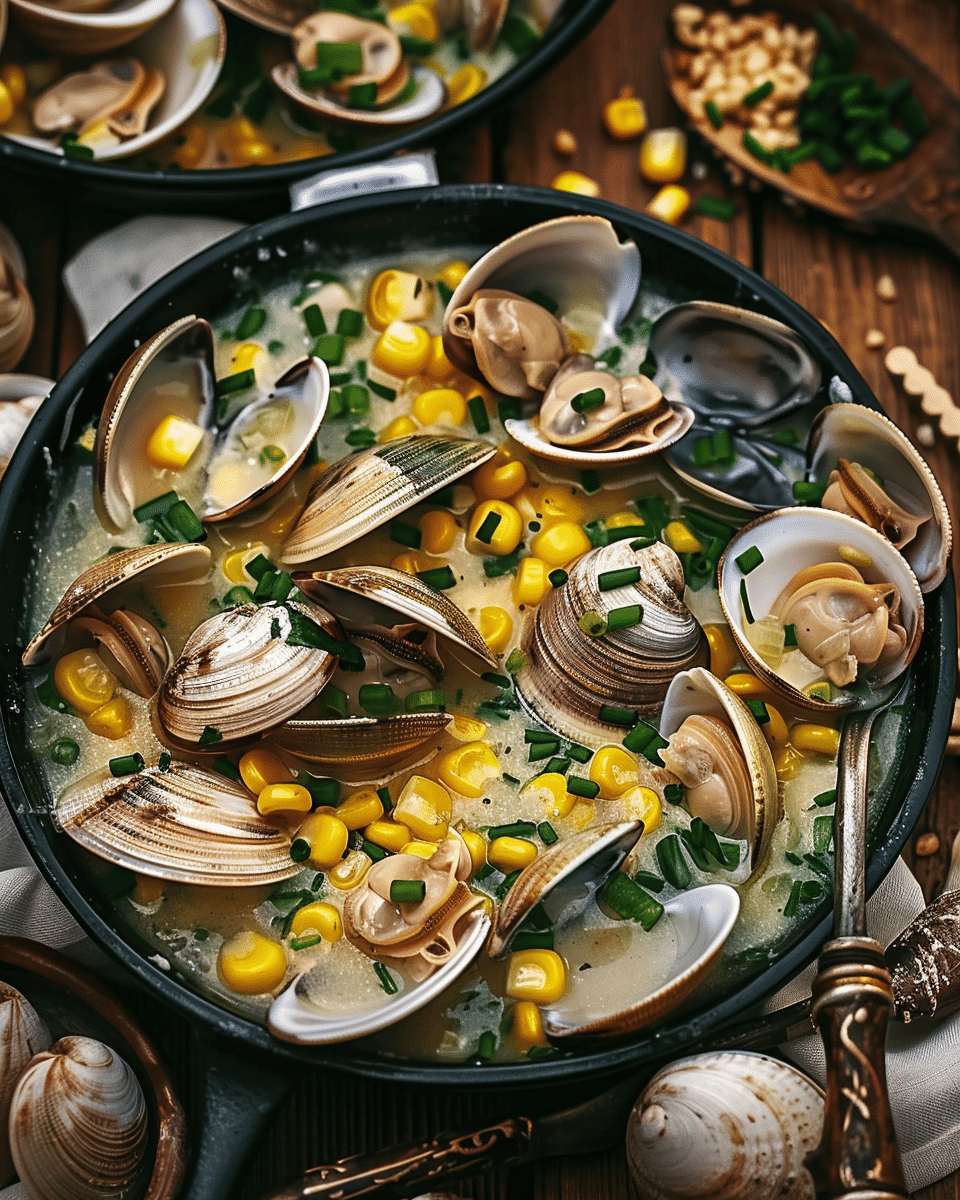
I’m excited to share this comforting clam chowder that blends tender clams, sweet fresh corn, creamy broth, and bright chives. It’s hearty, simple, and deeply satisfying.
Why You’ll Love This Recipe
I love how the natural sweetness of fresh corn pairs perfectly with the briny flavour of clams. The creamy base brings everything together without feeling heavy, and the chives add just the right fresh note. I also enjoy how easily everything comes together in one pot, making it ideal for weeknights or relaxed weekends.
Ingredients
(Tip: You’ll find the full list of Ingredients and measurements in the recipe card below.)
2 pounds fresh clams (or two 6-oz cans chopped clams with juice)
3 cups fresh corn kernels (about 3–4 ears of corn)
1 tablespoon butter or olive oil
1 medium onion, diced
2 garlic cloves, minced
2 medium potatoes, peeled and diced (about 2 cups)
2 cups clam juice (from steaming fresh clams or bottled)
1 cup water or seafood stock
1 cup heavy cream
1 bay leaf
1 teaspoon fresh thyme (or 1/2 teaspoon dried)
1/2 teaspoon salt (adjust to taste)
1/4 teaspoon black pepper
2 tablespoons chopped fresh chives (plus extra for serving)
Directions
If using fresh clams, clean them well. Steam them with 1 cup water until they open. Remove the meat, chop, and reserve the cooking liquid.
Heat butter or oil in a large pot. Add onion and garlic and cook until soft and fragrant.
Add corn, potatoes, clam juice, water or stock, bay leaf, and thyme. Bring to a simmer and cook until the potatoes are tender.
Stir in the cream and chopped clams. Warm gently on low heat, avoiding boiling so the clams stay tender.
Remove the bay leaf, season with salt and pepper, and stir in the chives.
Serve hot with extra chives sprinkled on top.
Servings And Timing
This recipe makes 6 servings.
Total time: 45–55 minutes
– Prep: 15 minutes
– Cooking: 30–40 minutes
Variations
Replace heavy cream with half-and-half for a lighter chowder.
Add diced celery or carrots for extra flavour and texture.
Use frozen corn if fresh isn’t available; I thaw it first for best results.
Add a pinch of smoked paprika if I want a deeper, slightly smoky note without using meat.
Stir in a handful of fresh spinach at the end for added colour and nutrients.
Storage/Reheating
I store leftovers in an airtight container for up to 3–4 days in the refrigerator. When reheating, I warm it slowly over medium-low heat, stirring often to keep the cream from separating. I avoid freezing because the dairy and potatoes don’t hold up well once thawed.
FAQs
How do I clean fresh clams properly?
I soak them in cold salted water for 20–30 minutes to help them release sand, then scrub the shells before steaming.
Can I use canned clams instead of fresh?
Yes, canned clams work well and make the recipe faster. I include the juice for extra flavour.
What can I substitute for cream?
Half-and-half or whole milk works, though the chowder will be slightly less rich.
How can I make the chowder thicker?
I mash a few cooked potato pieces directly in the pot to naturally thicken the broth.
Is it okay to prepare this chowder ahead of time?
Yes, I often prepare the base (without cream or clams) the day before. When reheating, I add the cream and clams at the end for best texture.
Conclusion
I love how this clam chowder comes together with simple ingredients that create big flavour. The sweetness of corn, the richness of cream, and the delicate brininess of clams truly shine. It’s a cozy, reliable dish I return to again and again, and I hope it becomes one of your favourites too.
Classic candy apples coated in a glossy, vibrant red sugar shell. Crisp green apples meet a crunchy cinnamon-flavored coating—perfect for fall parties, Halloween, or a nostalgic homemade treat.
Ingredients
4 green apples (e.g., Granny Smith)
4 wooden craft sticks
2 cups granulated sugar
1 cup water
2/3 cup light corn syrup
1/2 teaspoon ground cinnamon
Red food coloring
1/4 cup chopped peanuts (optional)
Instructions
Wash and dry apples thoroughly. Remove stems and insert wooden sticks into the top of each apple.
Place apples on a baking sheet and freeze for 20–30 minutes.
In a saucepan over medium heat, combine sugar, water, and corn syrup. Stir until sugar dissolves, then stop stirring.
Attach a candy thermometer and cook until the syrup reaches 290°F (soft-crack stage).
Remove from heat. Stir in cinnamon and red food coloring. The mixture will continue heating to about 300–305°F (hard-crack stage).
Quickly dip each cold apple into the candy mixture, rotating to coat evenly. Let excess drip off, then roll in chopped peanuts if using. Place on parchment-lined baking sheet.
Refrigerate for at least 30 minutes until the coating hardens.
Notes
Substitute cinnamon with other extracts like peppermint or maple for variation.
Use brown sugar for a richer caramelized flavor.
Roll in toppings like sprinkles, toffee, coconut, or mini chocolate chips.


