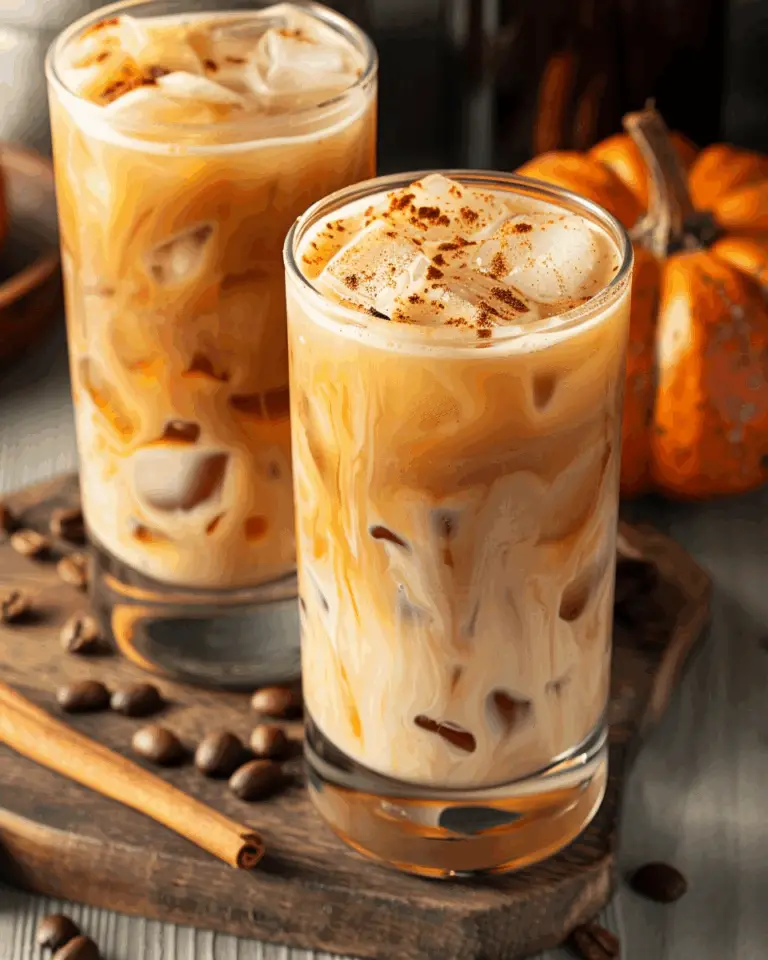
This homemade coffee creamer is my go-to when I want something rich, creamy, and a little sweet to elevate my daily cup. Made with just three ingredients and minimal effort, it’s a budget-friendly alternative to store-bought creamers—and it tastes even better. I love how I can customize it with different sweeteners and spices depending on my mood.
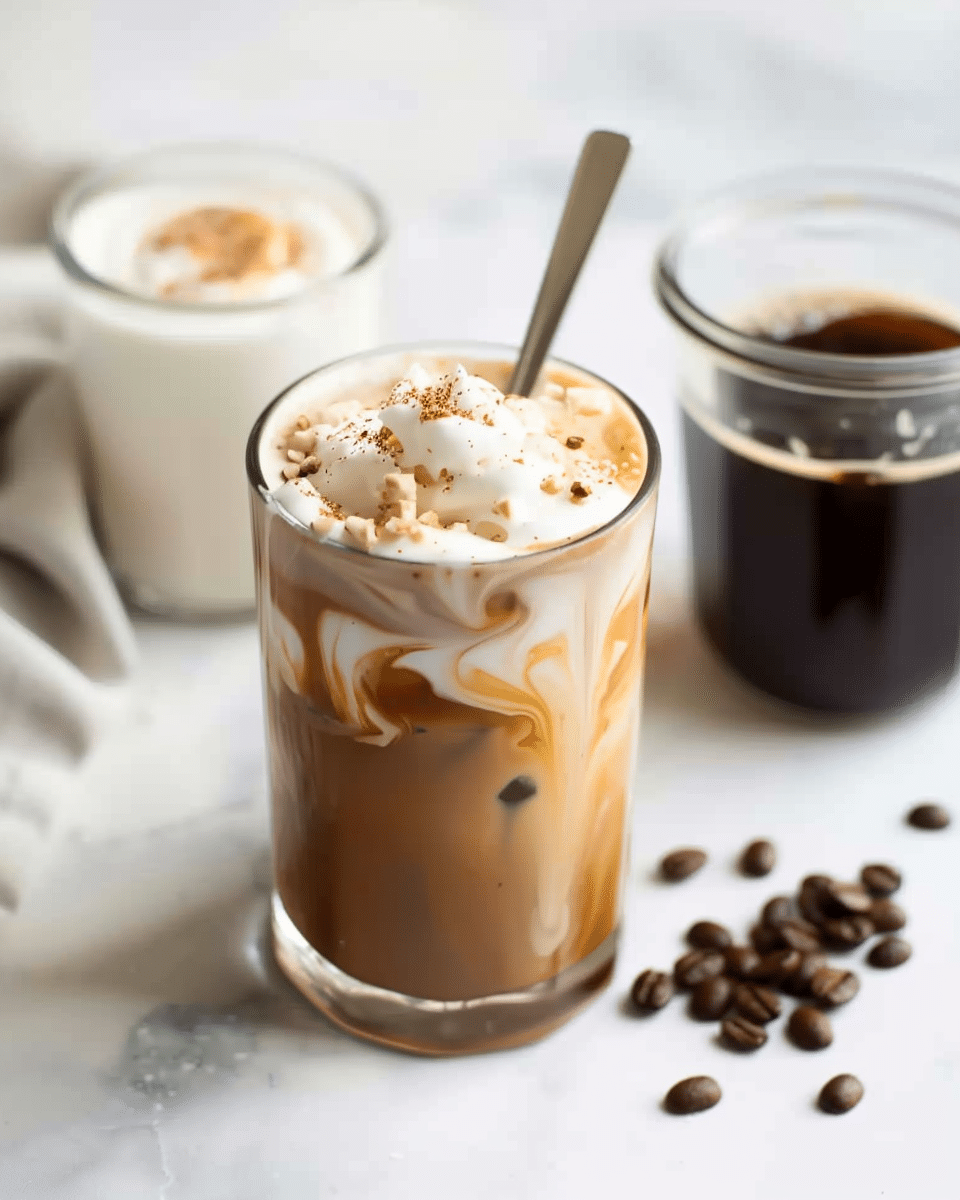
Why You’ll Love This Recipe
I make this recipe over and over again because it’s just so practical and versatile. It saves me money, especially since store-bought creamers keep getting pricier. Plus, it skips all the preservatives and additives I try to avoid. I batch it ahead of time, so my fridge is always stocked for those midday pick-me-ups. Best of all, I can tailor the flavor—vanilla today, cinnamon or cardamom tomorrow.
Ingredients
(Here’s a tip: Check out the full list of ingredients and measurements in the recipe card below.)
-
whole milk, divided (or your milk of choice)
-
dark brown sugar (or your sweetener of choice)
-
vanilla extract (or vanilla bean paste)
Directions
-
Simmer the milk and sugar:
I start by combining 2 cups of milk and the brown sugar in a small, heavy-bottomed saucepan. I keep the heat low and stir gently until the sugar dissolves. -
Reduce the mixture:
I let it simmer slowly for about 30 to 35 minutes, without stirring, until it reduces to about 1 1/2 cups. It turns a light golden color as it thickens. If any foam forms on the top, I just skim it off with a spoon. -
Cool it down:
Once it’s thickened, I remove it from the heat and let it cool until just warm. -
Add milk and vanilla:
I stir in the remaining 2 cups of milk along with the vanilla extract or paste. Then, I pour it into a lidded quart-sized container and store it in the fridge.
Servings and Timing
This recipe yields about 3 3/4 cups of creamer, which gives me roughly 60 servings, depending on how much I use per cup. The total cook time is 35 minutes, with no additional prep required.
Variations
I love switching things up with this base recipe:
-
Swap brown sugar with maple syrup, honey, or white sugar for a different sweetness.
-
Use half-and-half for a richer texture or almond/oat milk for a dairy-free option.
-
For flavored versions, I sometimes simmer the milk with cinnamon sticks, cardamom pods, or even a split vanilla bean.
-
A dash of hazelnut or almond extract can totally transform the flavor profile.
Storage/Reheating
I store the creamer in a sealed container in the fridge and refer to the milk’s sell-by date to gauge freshness. I usually go through it in a week, but it can sometimes last longer thanks to the sugar and slow simmering process. If it smells off or turns lumpy, I toss it.
I don’t reheat the creamer since I use it cold in iced drinks or pour it straight into hot coffee where it warms up naturally.
FAQs
How long does homemade coffee creamer last?
I follow the expiration date on the milk I used, but generally, it stays fresh for up to a week. I always check for any sour smell or texture changes before using it.
Can I make it dairy-free?
Absolutely. I like using almond milk, oat milk, or coconut milk when I want a non-dairy version. The texture might be slightly thinner, but it still tastes great.
Can I use a different sweetener?
Yes, and I often do. Maple syrup adds a lovely earthy sweetness, while honey brings a floral note. Just keep the ratio similar.
Can I freeze homemade coffee creamer?
I don’t recommend freezing it since dairy can separate when thawed. It’s best to make smaller batches more often.
Can I double the recipe?
Totally. When I want to stock up, I double everything and store it in two separate containers to keep it fresher longer.
Conclusion
This homemade coffee creamer has become a staple in my fridge. It’s easy, adaptable, and gives me that coffeehouse feel without leaving the house—or spending the extra money. I love knowing exactly what’s in it and being able to tweak the flavor to suit my mood. Once I started making it, I couldn’t go back to store-bought.
Print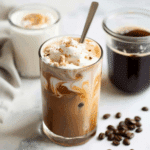
Homemade Coffee Creamer
- Total Time: 40 minutes
- Yield: About 3¾ cups
Description
A rich and creamy homemade coffee creamer made with just milk, brown sugar, and vanilla—perfectly customizable and free from preservatives.
Ingredients
- 4 cups whole milk (or milk of choice), divided
- 1/2 cup dark brown sugar (or sweetener of choice)
- 2 tsp vanilla extract or substitute with vanilla bean paste
Instructions
- In a small saucepan, combine 2 cups of milk and sugar. Heat over low, stirring until sugar dissolves.
- Let simmer gently (no stirring) for 30–35 minutes, reducing to about 1½ cups. It should turn lightly golden; skim off any foam. :contentReference[oaicite:9]{index=9}
- Remove from heat and let cool to warm. Stir in remaining 2 cups milk and vanilla until smooth.
- Transfer to a quart-sized airtight container and refrigerate.
Notes
- Maintain aroma and flavor by labeling with your milk’s sell-by date; toss if off-smelling or separated. :contentReference[oaicite:10]{index=10}
- You can freeze creamer up to 3 months—ideally in small portions (e.g., ice cubes) to thaw as needed. Expect slight separation and stir before use. :contentReference[oaicite:11]{index=11}
- No dairy? Swap with almond, oat, or coconut milk—creamer will be lighter but still delicious. :contentReference[oaicite:12]{index=12}
- Want new flavors? Try adding cinnamon sticks, cardamom pods, or change sweeteners: honey, maple syrup, or vanilla bean paste for richer notes. :contentReference[oaicite:13]{index=13}
- Prep Time: 5 minutes
- Cook Time: 35 minutes
- Category: Coffee Add-In
- Method: Stovetop
- Cuisine: Home-style
Nutrition
- Serving Size: 1 tbsp
- Calories: Approx. 15 kcal
- Sugar: 2–3 g
- Sodium: undefined
- Fat: 0.5 g
- Saturated Fat: undefined
- Unsaturated Fat: undefined
- Trans Fat: undefined
- Carbohydrates: 2‑3 g
- Fiber: undefined
- Protein: 0.5 g
- Cholesterol: undefined

