I love making this no-bake peppermint cheesecake when I want something festive, creamy, and impressive without turning on the oven. The cool peppermint flavor paired with a rich chocolate crust makes this dessert feel special, yet it comes together with very little effort. It’s one of those recipes I rely on during busy holidays or whenever I crave a refreshing chocolate-and-mint treat.
Why You’ll Love This Recipe
I enjoy this recipe because it’s completely no-bake, which saves time and keeps the kitchen cool. The texture is smooth and fluffy, the peppermint flavor is refreshing without being overpowering, and the chocolate crust adds the perfect balance. I also like how easy it is to make ahead, making it ideal for gatherings and celebrations.
Ingredients
(Tip: You’ll find the full list of Ingredients and measurements in the recipe card below.)
For the chocolate crust
2 cups chocolate cookie crumbs
5 tablespoons unsalted butter, melted
For the peppermint cheesecake filling
16 ounces full-fat cream cheese, softened to room temperature
1 cup powdered sugar
2 cups cold heavy whipping cream
1 teaspoon peppermint extract
Optional topping
Chocolate shavings or crushed peppermint candies
Directions
I start by mixing the chocolate cookie crumbs with the melted butter until evenly combined. I press the mixture firmly into the bottom of a springform pan and place it in the refrigerator to set while I prepare the filling.
In a large bowl, I beat the softened cream cheese until smooth and creamy. I add the powdered sugar and peppermint extract, mixing until fully incorporated.
In a separate bowl, I whip the cold heavy cream until stiff peaks form. I gently fold the whipped cream into the cream cheese mixture, taking care not to deflate it.
I spread the filling evenly over the chilled crust, smoothing the top with a spatula. I refrigerate the cheesecake for at least 6 hours, or until fully set. Before serving, I like to add chocolate shavings or crushed peppermint candies for decoration.
Servings And Timing
I usually get about 8 servings from this cheesecake.
Preparation time: 20 minutes
Chilling time: 6 hours
Total time: approximately 6 hours and 20 minutes
Variations
I sometimes swap the chocolate cookie crust for a graham cracker or Oreo crust. For a milder flavor, I reduce the peppermint extract slightly. When I want a holiday twist, I add a few drops of red food coloring and gently swirl it into the filling for a festive look.
Storage/Reheating
I store this cheesecake covered in the refrigerator for up to 4 days. If I need to keep it longer, I freeze individual slices wrapped tightly for up to 1 month. I let frozen slices thaw overnight in the refrigerator before serving. Reheating is not needed for this dessert.
FAQs
Can I use low-fat cream cheese?
I prefer full-fat cream cheese because it gives the best texture, but low-fat can work with a slightly softer result.
How strong is the peppermint flavor?
I find it refreshing but not overpowering. I adjust the extract amount if I want it milder or stronger.
Can I make this cheesecake ahead of time?
I often make it a day in advance since it sets beautifully overnight and saves time.
What pan works best for this recipe?
I like using a springform pan because it makes removing and slicing the cheesecake much easier.
Can I freeze the whole cheesecake?
I usually freeze individual slices, but the whole cheesecake can be frozen if wrapped very well.
Conclusion
This no-bake peppermint cheesecake is one of my favorite desserts when I want something easy, creamy, and full of festive flavor. I love how simple the process is and how impressive the final result looks and tastes. It’s a dessert I come back to whenever I need a reliable and refreshing sweet treat.
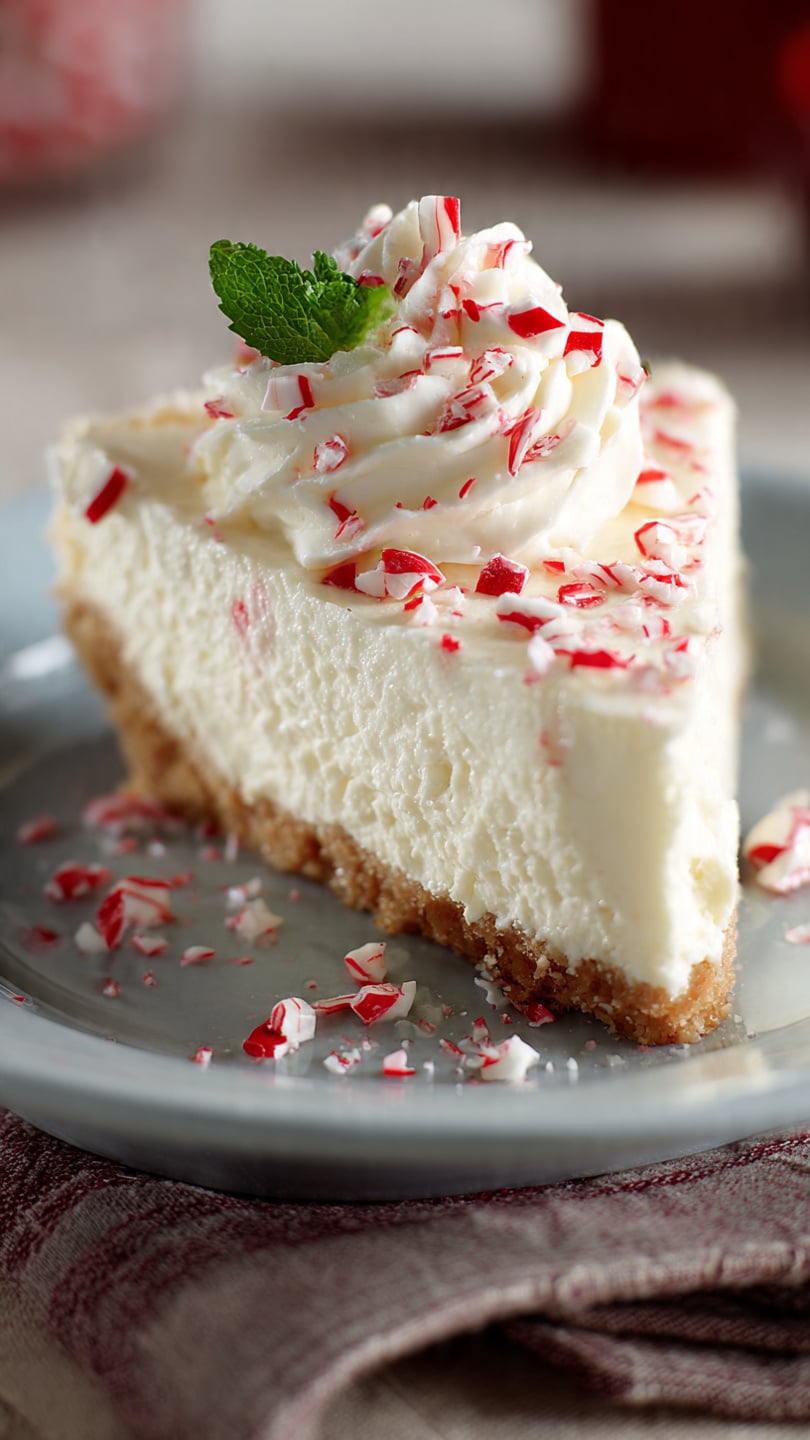
A creamy, festive no-bake peppermint cheesecake with a chocolate cookie crust, perfect for holidays or any time you want a refreshing chocolate-and-mint dessert.
Ingredients
2 cups chocolate cookie crumbs
5 tablespoons unsalted butter, melted
16 ounces full-fat cream cheese, softened to room temperature
1 cup powdered sugar
2 cups cold heavy whipping cream
1 teaspoon peppermint extract
Optional topping: chocolate shavings or crushed peppermint candies
Instructions
Mix chocolate cookie crumbs with melted butter until combined. Press firmly into the bottom of a springform pan and refrigerate to set.
Beat softened cream cheese until smooth. Add powdered sugar and peppermint extract, mixing until incorporated.
Whip cold heavy cream until stiff peaks form, then gently fold into the cream cheese mixture.
Spread filling evenly over chilled crust and smooth the top.
Refrigerate cheesecake for at least 6 hours until fully set.
Before serving, add chocolate shavings or crushed peppermint candies if desired.
Notes
Swap chocolate cookie crust for graham cracker or Oreo crust if preferred.
Reduce peppermint extract for a milder flavor.
Add a few drops of red food coloring and swirl for a festive look.
Store covered in the refrigerator for up to 4 days.
Freeze individual slices wrapped tightly for up to 1 month; thaw overnight in the refrigerator before serving.


