I love making these classic whoopie pies because they feel like a mix between a cake and a sandwich cookie. They are soft, chocolatey, and filled with a creamy center that always reminds me of homemade treats and simple baking joy. I like how they look impressive but are actually easy and fun to prepare in my own kitchen.
Why You’ll Love This Recipe
I enjoy this recipe because it uses simple pantry ingredients and comes together without complicated steps. I like that the cakes stay soft and moist, even after a day or two. I also appreciate how flexible the filling can be, which lets me change flavors depending on my mood or what I have on hand.
Ingredients
(Tip: You’ll find the full list of Ingredients and measurements in the recipe card below.)
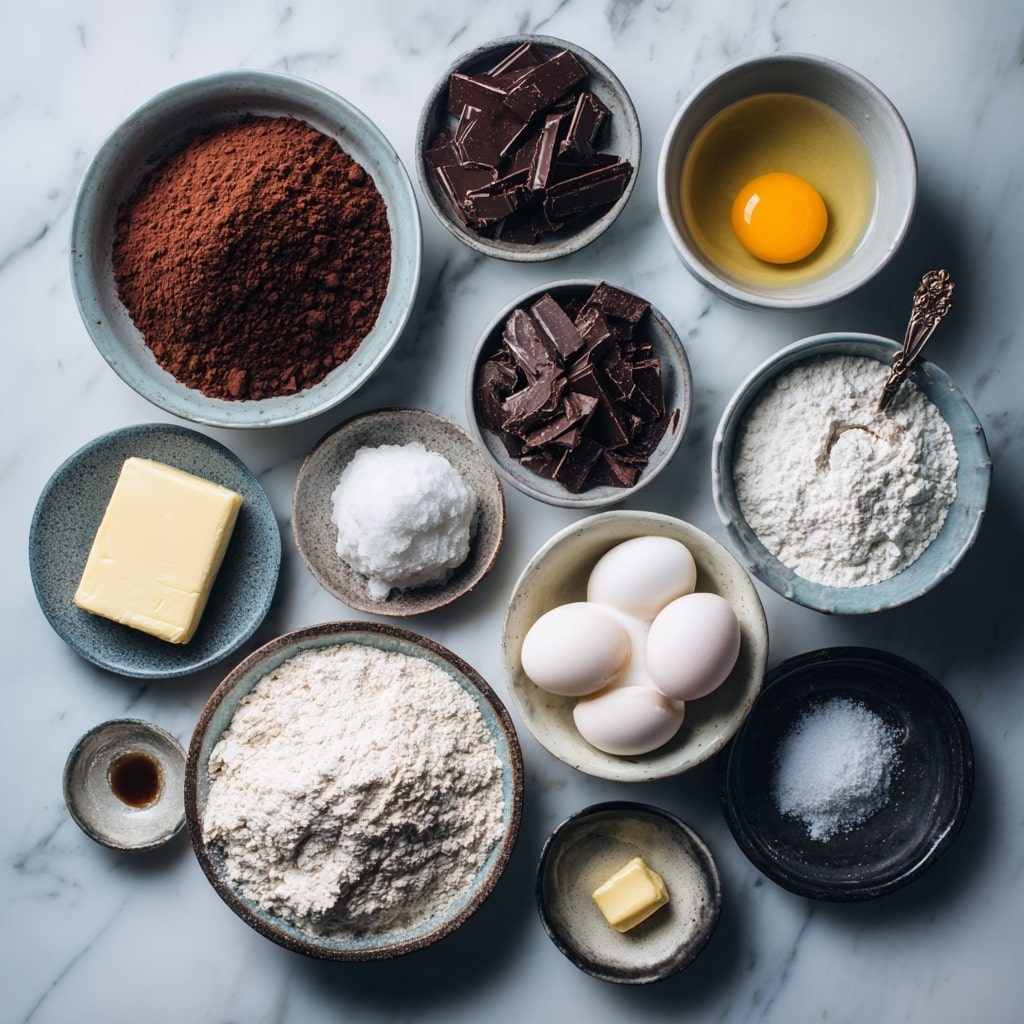
For the chocolate cakes:
2 cups all-purpose flour
1/2 cup unsweetened cocoa powder
1 1/4 teaspoons baking soda
1/4 teaspoon salt
1/2 cup unsalted butter, softened
1 cup granulated sugar
1 large egg
1 teaspoon vanilla extract
1 cup milk
For the filling:
1/2 cup unsalted butter, softened
1 cup powdered sugar
1 teaspoon vanilla extract
2–3 tablespoons milk or cream
Directions
I start by preheating the oven to 350°F (175°C) and lining baking sheets with parchment paper. In a bowl, I whisk together the flour, cocoa powder, baking soda, and salt. In another bowl, I cream the butter and sugar until light, then mix in the egg and vanilla.
I add the dry ingredients alternately with the milk, mixing just until combined. Using a spoon or scoop, I drop small rounds of batter onto the baking sheets. I bake them for about 10–12 minutes, then let them cool completely.
For the filling, I beat the butter until smooth, then mix in the powdered sugar, vanilla, and milk until creamy. I spread or pipe the filling onto the flat side of one cake and sandwich it with another.
Servings And Timing
I usually get about 12 sandwich cookies from this recipe. Preparation takes around 20 minutes, baking takes about 12 minutes per batch, and cooling plus assembly takes another 20 minutes.
Variations
I like adding a little peppermint extract to the filling for a holiday version. Sometimes I mix mini chocolate chips into the filling for extra texture. I also enjoy using a marshmallow-style filling for a more traditional twist.
Storage/Reheating
I store whoopie pies in an airtight container at room temperature for up to two days. If I want them to last longer, I keep them in the refrigerator for up to five days. I usually let refrigerated pies sit at room temperature for a few minutes before eating.
FAQs
Can I make whoopie pies ahead of time?
I often bake the cakes a day ahead and assemble them later, which saves time and keeps everything fresh.
Can I freeze whoopie pies?
I like freezing the unfilled cakes, then thawing and filling them when I’m ready to serve.
Why are my whoopie pies flat?
I’ve noticed this can happen if the batter is overmixed or the baking soda is old.
Can I use a different filling?
I enjoy experimenting with cream cheese frosting or flavored buttercream when I want variety.
Do whoopie pies need to be refrigerated?
I usually don’t refrigerate them unless the filling is very soft or the weather is warm.
Conclusion
I keep coming back to this whoopie pies recipe because it is comforting, reliable, and always satisfying. I love how each bite combines soft chocolate cake with smooth filling, making it a dessert I’m always happy to share or enjoy myself.
These classic whoopie pies are soft, chocolatey cake-like cookies sandwiched with a creamy vanilla filling. They’re easy to make, fun to eat, and perfect for sharing or enjoying as a nostalgic homemade treat.
Ingredients
For the chocolate cakes:
2 cups all-purpose flour
1/2 cup unsweetened cocoa powder
1 1/4 teaspoons baking soda
1/4 teaspoon salt
1/2 cup unsalted butter, softened
1 cup granulated sugar
1 large egg
1 teaspoon vanilla extract
1 cup milk
For the filling:
1/2 cup unsalted butter, softened
1 cup powdered sugar
1 teaspoon vanilla extract
2–3 tablespoons milk or cream
Instructions
Preheat the oven to 350°F (175°C) and line baking sheets with parchment paper.
In a bowl, whisk together flour, cocoa powder, baking soda, and salt.
In another bowl, cream butter and granulated sugar until light and fluffy.
Add the egg and vanilla extract; beat until combined.
Alternately add the dry ingredients and milk, mixing just until combined.
Drop rounded spoonfuls of batter onto prepared baking sheets, spacing them a few inches apart.
Bake for 10–12 minutes, or until set and springy to the touch. Let cool completely.
For the filling, beat butter until smooth. Add powdered sugar, vanilla, and 2–3 tablespoons of milk or cream. Beat until fluffy and smooth.
Spread or pipe the filling onto the flat side of one cake and top with another to form a sandwich.
Notes
Add peppermint extract to the filling for a holiday twist.
Mix mini chocolate chips into the filling for texture.
Try a marshmallow-style filling for a classic version.
Don’t overmix the batter to avoid flat cookies.
Refrigerate for longer storage, but allow to come to room temp before serving.


