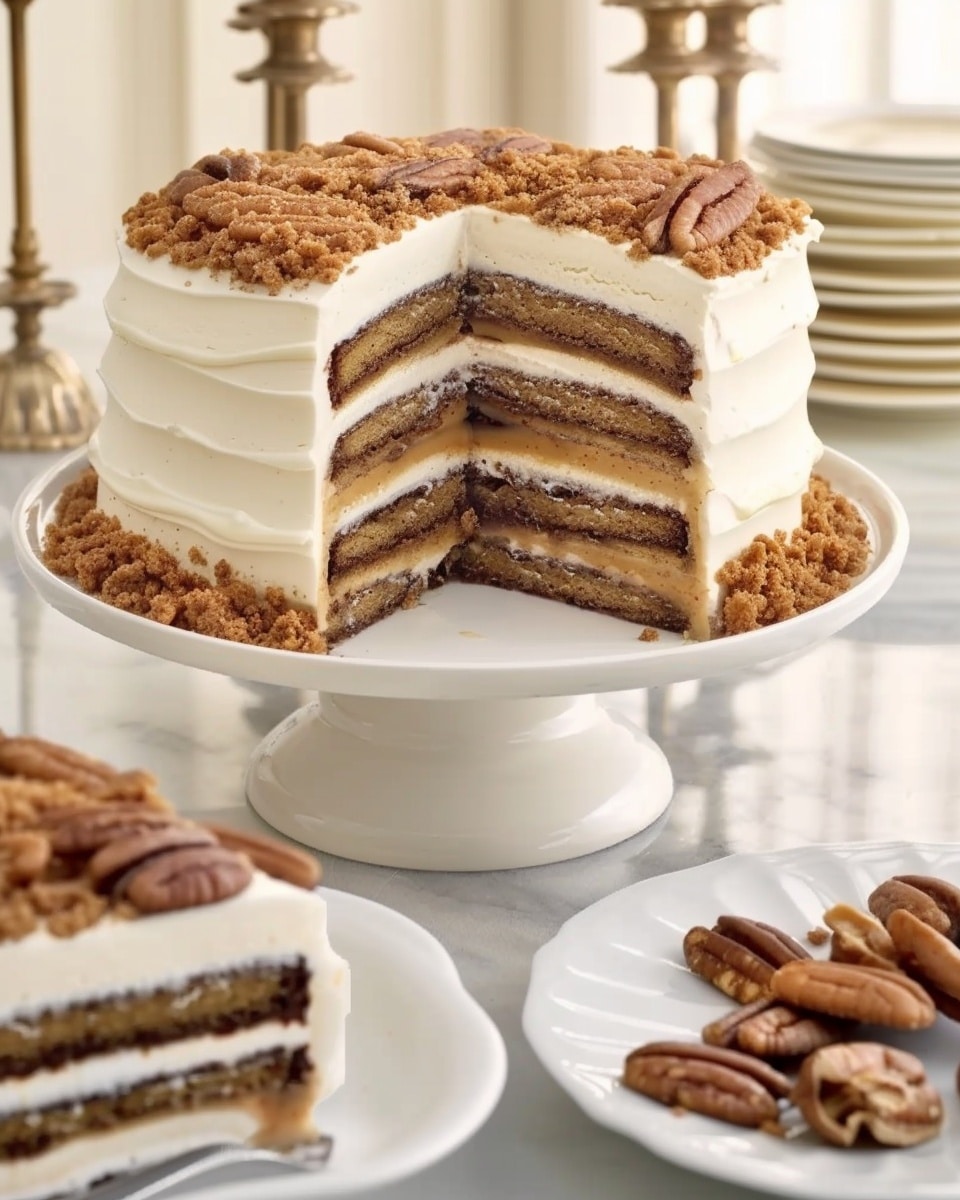
This indulgent no-bake dessert brings together layers of crispy peanut butter wafers, creamy butterscotch pudding, and a drizzle of rich chocolate syrup. It’s a quick and satisfying treat that feels luxurious without requiring hours in the kitchen. Perfect for warm days or when you need a last-minute dessert, this icebox cake delivers both texture and flavor in every bite.
Why You’ll Love This Recipe
This recipe is ideal for anyone who wants a delicious dessert with minimal effort. There’s no need to turn on the oven, making it perfect for hot weather or busy days. The combination of crunchy wafers and soft, creamy layers creates a delightful contrast that tastes like a frozen candy bar transformed into a cake. It’s also incredibly easy to customize and assemble, making it a fun recipe to prepare for family gatherings or casual get-togethers.
Ingredients
(Tip: You’ll find the full list of ingredients and measurements in the recipe card below.)
2 boxes Nutty Buddy wafers
1 box instant butterscotch pudding mix
1.5 cups cold milk
8 oz whipped topping, thawed
1/2 cup chocolate syrup (plus extra for drizzling)
Directions
Start by preparing the butterscotch pudding. In a medium mixing bowl, whisk together the instant pudding mix and cold milk for about 2 minutes until it thickens. Allow it to sit for a few minutes to fully set.
Next, gently fold the whipped topping into the prepared pudding. Use a spatula to combine them until the mixture becomes smooth and airy. This creates the creamy butterscotch filling that will hold the layers together.
In a rectangular dish, begin assembling the cake. Lay down a single layer of Nutty Buddy wafers, arranging them side by side to cover the bottom. Spread a generous layer of the butterscotch cream mixture evenly over the wafers.
Drizzle a small amount of chocolate syrup over the cream layer. Then repeat the process: add another layer of wafers, followed by more cream, and another drizzle of chocolate syrup. Continue layering until all ingredients are used, finishing with a layer of cream on top.
For the final touch, drizzle extra chocolate syrup over the top in a decorative pattern. Cover the dish with plastic wrap and refrigerate for at least 4 hours, or overnight if possible. This resting time allows the wafers to soften and absorb the flavors, creating a cake-like texture.
Before serving, slice into squares and enjoy chilled.
Servings and timing
This recipe makes approximately 8 servings. Preparation time takes about 15 minutes, while chilling time requires at least 4 hours. For best results, refrigerate overnight to achieve the perfect soft texture and fully developed flavor.
Variations
You can easily adapt this dessert to suit your taste. Swap the butterscotch pudding for chocolate or vanilla pudding for a different flavor profile. Add a layer of sliced bananas or strawberries between the wafers and cream for a fruity twist. For extra crunch, sprinkle chopped nuts such as peanuts or almonds between layers. If you prefer a richer taste, mix a little caramel sauce into the pudding mixture.
Storage/Reheating
Store the icebox cake in the refrigerator, covered, for up to 3 days. The texture will continue to soften over time, making it even more cake-like. This dessert is not suitable for reheating, as it is meant to be enjoyed cold. If you want a firmer consistency, you can place it in the freezer for about 1 hour before serving.
FAQs
Can I make this dessert ahead of time?
Yes, it’s actually better when made ahead, as chilling allows the layers to soften and blend.
Can I use homemade whipped cream instead of whipped topping?
Yes, just make sure it’s stabilized so it holds its structure.
What can I use instead of Nutty Buddy wafers?
You can substitute with chocolate wafer cookies or graham crackers.
How long does it need to chill?
At least 4 hours, but overnight is ideal.
Can I freeze this cake?
Yes, freezing for a short time can give it a firmer, ice cream-like texture.
Is this recipe kid-friendly?
Absolutely, it’s sweet, simple, and fun to eat.
Can I add other toppings?
Yes, crushed cookies, nuts, or caramel drizzle all work well.
Does the cake become soggy?
No, the wafers soften just enough to create a cake-like consistency.
Can I make it in individual portions?
Yes, assemble it in cups or jars for single servings.
What’s the best way to slice it?
Use a sharp knife and wipe it clean between cuts for neat slices.
Conclusion
This no-bake Nutty Buddy Butterscotch Icebox Cake is a perfect example of how simple ingredients can create a truly satisfying dessert. With its creamy layers, crunchy wafers, and rich chocolate drizzle, it offers a delightful balance of textures and flavors. Whether you’re preparing it for a gathering or just treating yourself, this easy recipe is sure to become a favorite.
A no-bake layered dessert made with crispy peanut butter wafers, creamy butterscotch pudding, and rich chocolate syrup, creating a soft and indulgent icebox cake.
Ingredients
2 boxes Nutty Buddy wafers
1 box instant butterscotch pudding mix
1.5 cups cold milk
8 oz whipped topping, thawed
1/2 cup chocolate syrup (plus extra for drizzling)
Instructions
In a bowl, whisk together butterscotch pudding mix and cold milk for about 2 minutes until thickened.
Let pudding sit for a few minutes to fully set.
Gently fold whipped topping into the pudding until smooth and airy.
In a rectangular dish, arrange a layer of Nutty Buddy wafers to cover the bottom.
Spread a layer of the pudding mixture evenly over the wafers.
Drizzle a small amount of chocolate syrup over the layer.
Repeat layering wafers, pudding mixture, and chocolate syrup until ingredients are used.
Finish with a final layer of cream and drizzle extra chocolate syrup on top.
Cover and refrigerate for at least 4 hours or overnight.
Slice and serve chilled.
Notes
Chill overnight for best texture and flavor.
Use stabilized homemade whipped cream if preferred.
Add fruit layers like bananas or strawberries for variation.
Sprinkle chopped nuts for extra crunch.
Store covered in refrigerator for up to 3 days.
Freeze briefly for a firmer, ice-cream-like texture.